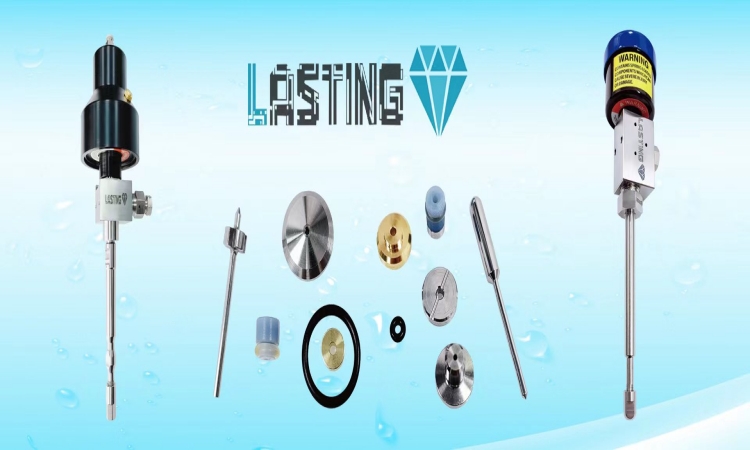
HIGH-PERFORMANCE Pneumatic Valve
We just use Natural Diamond for this application.
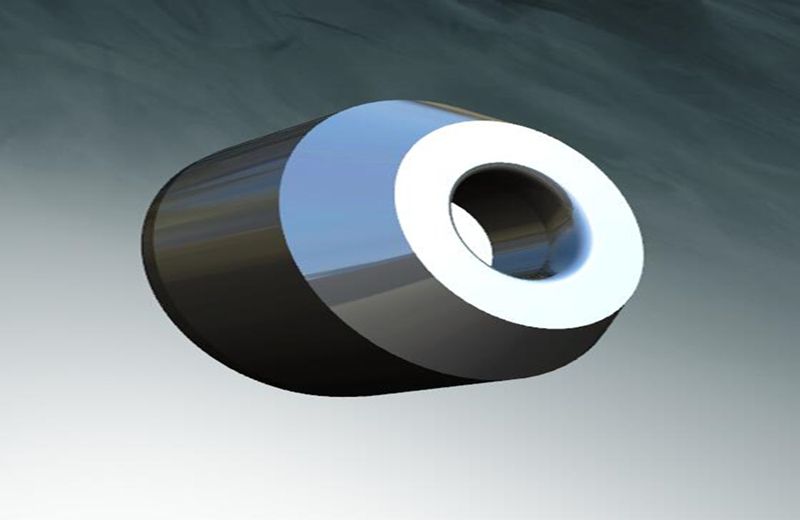
Long life diamond head for Waterjet Cutting!
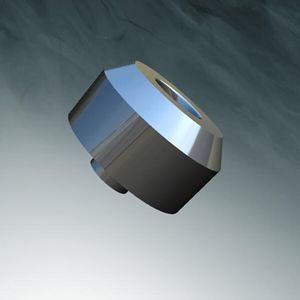
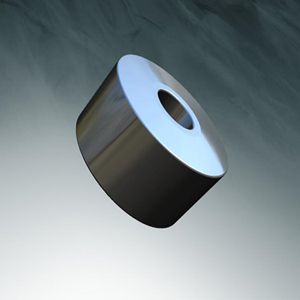
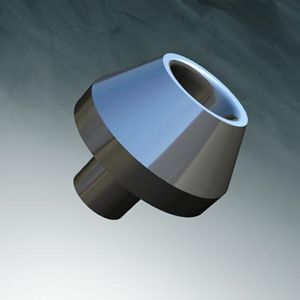
These orifices have inserts made of diamond, the hardest and most wear resistant material available. The longer lifetime of a diamond orifice not only results in a reduction of the number of orifices used. It also means the orifice keeps its accuracy and precision for a longer period. This allows for a better performance and a significantly reduced system down-time for orifice replacement and system calibration. All together the use of Long Life Orifices will make the entire process more cost-effective.
Lasting Diamond Technology offers a wide assortment of diamond orifices for just about any job. All orifices are built to OEM specifications and in partnership with system manufacturers. For greater productivity and lower overall costs, performance can be tailored to the exact job requirements.
Benefits:
Reduced down-time
Lowest operation costs
Consistent jet quality
Long Life Orifices for waterjet cutting are primarily designed for high volume production environments, for instance in the automotive or food industry. In comparison with orifice inserts made of sapphire a lifetime improvement of 15 to 20 times is achieved. Tests proved that after 1000 hours of operation with pure water at 4000 bar there are no measurable changes in jet quality and water usage. Tests with abrasive water jet cutting proved that after 100’000 cycles (on/off cycles) there are no measurable changes in jet quality and water usage.
The long life orifice inserts are extremely resistant to abrasives as well as to foreign particles and impurities in water. This results in a very good water jet quality and a constant volume flow, necessary to ensure consistent cutting quality. The consistent cutting quality can be maintained for a long operating time without changing the orifice in the cutting head. Apart from this improvement the diamond insert does not contain cracks or other imperfections in its structure and as a result implosion events are absent.
Customized service
Lasting Diamond Technology can provide the orifices holders tailored to your specific needs. Together with you we work on the best possible solution for your application. Due to the Lasting Diamond Technology's state of the art production facility we are able to meet almost any requirement to fulfill your expectations.
Other application of Lasting diamond orifices:
-
Pick & place technology applications
Long Life Air
Choosing the right nozzle is the most important step in optimizing component pick and place operations. Since a nozzle change operation is very expensive (it significantly adds to the overall assembly time), it is essential to minimize the number of nozzle changes.
Using Lasting Diamond Technology Long Life Air nozzles will significantly increase the length of production cycles, while reducing failures and minimizing the assembly cycle time.
Long Life Air nozzles can be optimized for both sucking and blowing applications and are designed to OEM specifications. -
Pick & place technology applications
Long Life Air
Choosing the right nozzle is the most important step in optimizing component pick and place operations. Since a nozzle change operation is very expensive (it significantly adds to the overall assembly time), it is essential to minimize the number of nozzle changes.
Using Lasting Diamond Technology Long Life Air nozzles will significantly increase the length of production cycles, while reducing failures and minimizing the assembly cycle time.
Long Life Air nozzles can be optimized for both sucking and blowing applications and are designed to OEM specifications.
Orifice user’s guide
In order to service the orifice correctly and protect your investment, we made a guide on how to change the orifice.
Changing the orifice in 10 steps:
Step 1: Pull firmly on the abrasive feed line to remove it from the head. Note: If the line is hard to remove, apply a very small amount of silicone lubricant or food-grade lubricant to the 45° port to allow easier removal next time. Step 2: Thoroughly rinse the outside of the cutting head and nozzle body with your system’s spray hose. Rinse the inside by spraying water into the abrasive inlet port with the jet running at high or low pressure. This will remove external and internal abrasive particles and assure proper seating.
Step 3: Turn the intensifier pump off and bleed all pressure from the system. Step 4: Using a 1 1/16-in. wrench on the cutting head body and a 3/4-in. wrench on the nozzle nut, loosen the cutting head body and remove it from the nozzle body. Step 5: Tap the body upside down on a table to remove the Orifice Assembly. If necessary, lightly pry on the mount with a screwdriver. Step 6: Inspect again to make sure all parts, including the orifice and the seating surface in the body, are clean of any debris or garnet. If needed, flush the Mixing Chamber by spraying water through the abrasive inlet port again.
Step 7: Apply a very small amount of Blue Lubricant at the top of the Orifice Assembly. (This should be just a thin layer)
Step 8: Drop the Orifice Assembly into the body, shaking the body until the assembly drops into the taper. Ensure that the Orifice Assembly is properly seated in the body before reattaching the Mixing Chamber to the Nozzle Body. An improperly seated orifice can damage your components and cause poor cut quality.
Step 9: Attach the Mixing Chamber to the Nozzle Body and tighten with 35–50 ft-lb of torque.
CAUTION: DO NOT EXCEED 50 FT LBS.
Over-tightening the cutting head will damage mating surfaces, such as the Nozzle Body. It can also damage the orifice mount, either by forcing the mount out of round, or by flattening it. Such damage is not covered by warranty. Step 10: Reattach the abrasive feed line. If there is leakage, disassemble the Mixing Chamber from the Nozzle Body, make sure there is no grit or debris in the chamber, ensure that the orifice is properly seated and reattach the chamber to the body. If leakage continues, it may be due to a worn Mixing Chamber or Nozzle Body.
 |  |  |  |